Come early Spring and the woodlands, so long barren and chill start to revive with life. And every year this still fills me with wonderment and surprise. As a frequent visitor to the forests in Winter I have become accustomed to these silent wide open spaces. To see the spaces between the trees being filled with undergrowth is always a happy sight. Not only for the joyous rebirth taking place but for the foodie options now available….

Obviously the first thing to write about nettle picking is to remind you to beware of the sting! Though of course you knew that anyway but it’s best to put a little disclaimed in. I usually use some thick ski-ing gloves but gardening gloves should do the trick. When nettle picking it’s best to look for the younger, smaller nettles. And to probably take only the nettle tops. (You can of course eat the lower leaves but they are more stringy. I learned this mostly through trial and error and produced some rather strung out soups back in my uni days.) Also the nettles away from the path are probably less likely to contain contaminates, and the ones on the side of the road are of course a no-no due to car fumes!
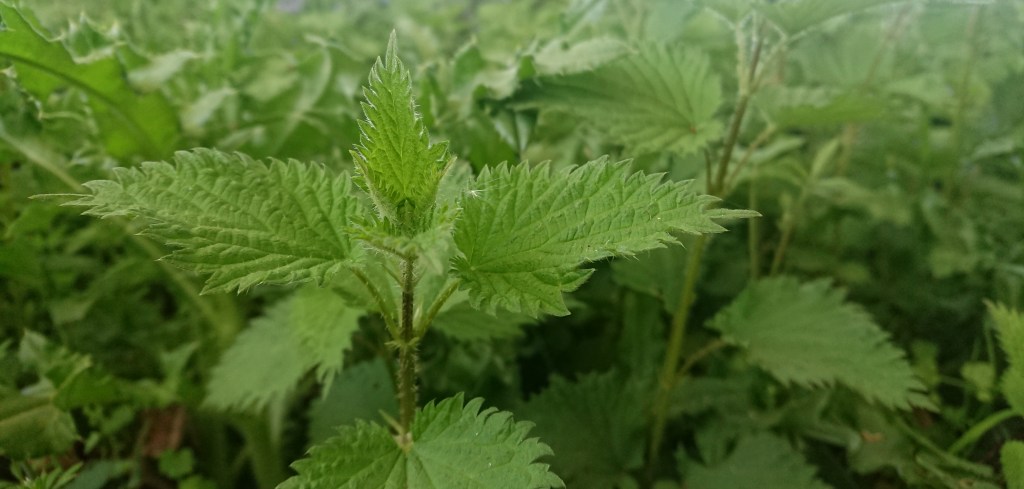
I simply use a pair of kitchen scissors to cut the nettle tops I need, before furtively bagging them into a plastic bag. How many nettles will I need? Well that’s an interesting question, I usually end up with too much, but a bagful isn’t too bad for a quiche or a soup. You might want to pick more if you are making pesto as the nettles tend to reduce, especially if you want to make a few jars worth.
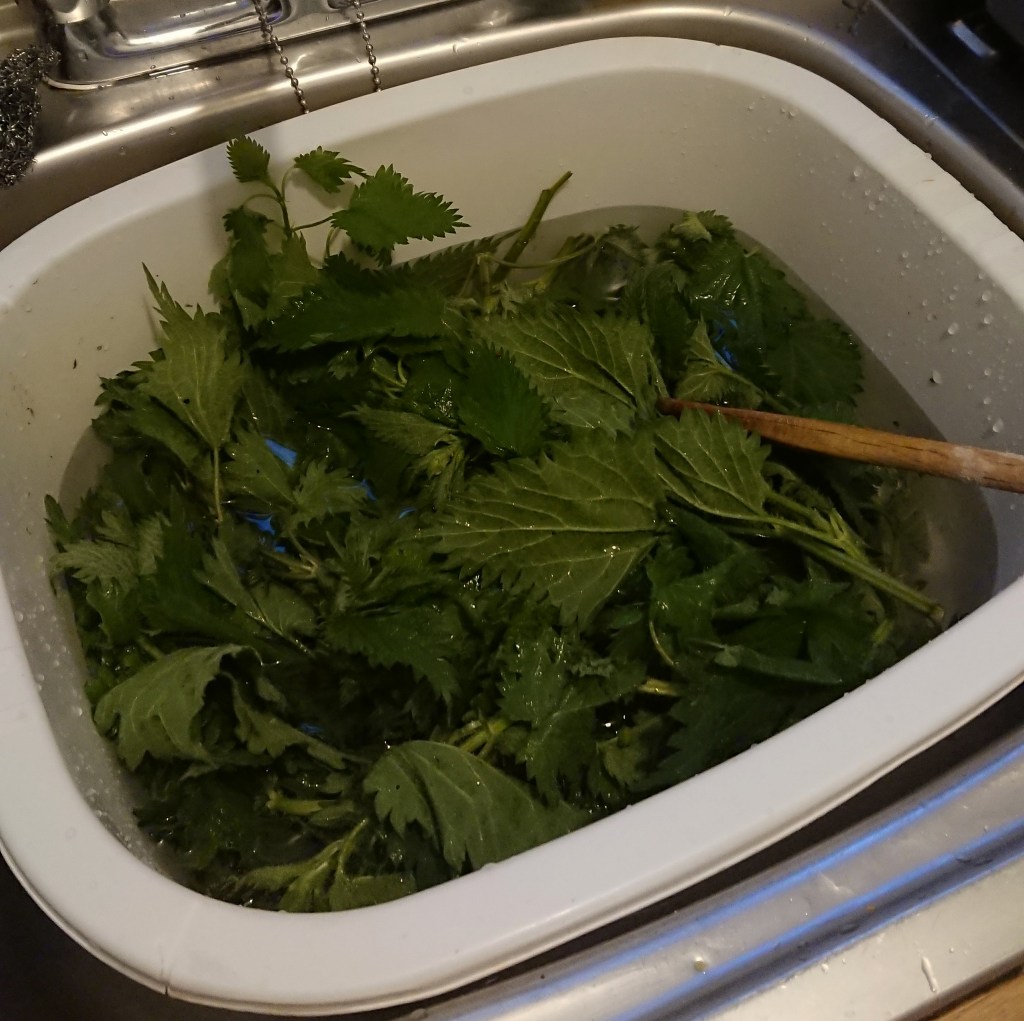
Once you’ve got your nettles back home and you want to make something, first plan is probably to empty them in to the sink and give them a good rinse under cold water – not touching them obviously as they’re still highly stingable! Rinsing is necessary to remove anything that may have sneaked into your kitchen from the woods.
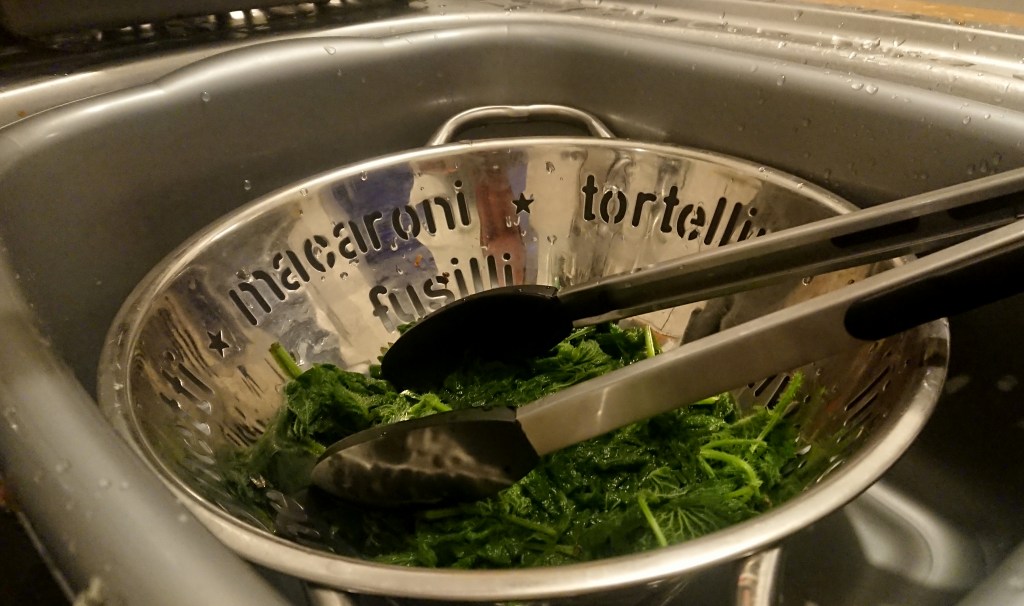
Whilst your nettles are in the sink, heat a pan of water till boiling. This is so you can blanch your nettles. Drop your nettles straight in (using tongs for safety) and let them sit in the boiling water for about 3 or 4 minutes or so. Then pour the hot water and the nettles into a colander before pouring cold water onto them to stop them cooking any further. The sting should be completely eradicated now and they will be safe to handle.
Some Nettle Recipes….
Right, so you’ve got your nettles, but what can you actually do with them? What do they even taste like??? Well if your unfamiliar, I’d describe them as similar to spinach… but somewhat more earthy in fact. I like to pair mine with other vegetables such as potato, leeks and carrot if I’m making a soup. Garlic and bacon and other herbs are a good combination too. I’ve got a few recipes I generally experiment with; let’s start with one that’s definitely a winner.
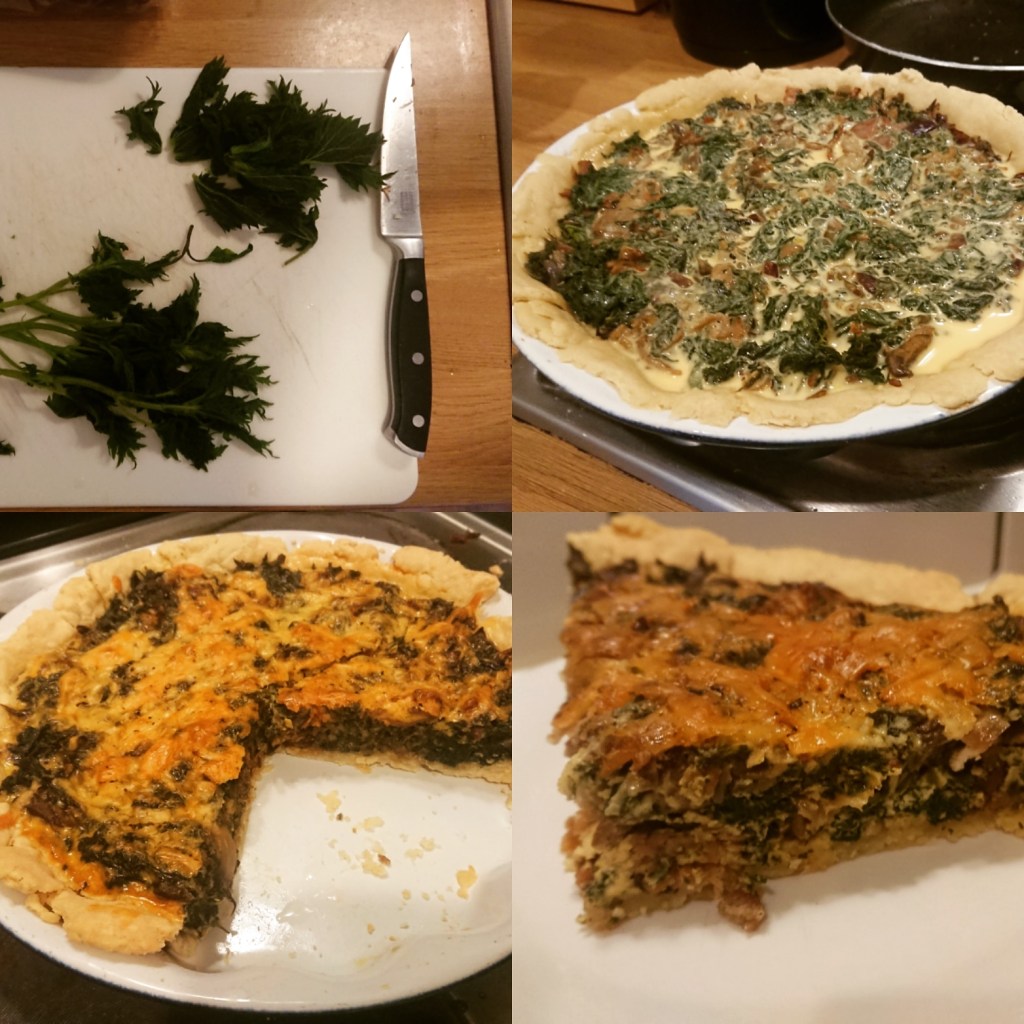
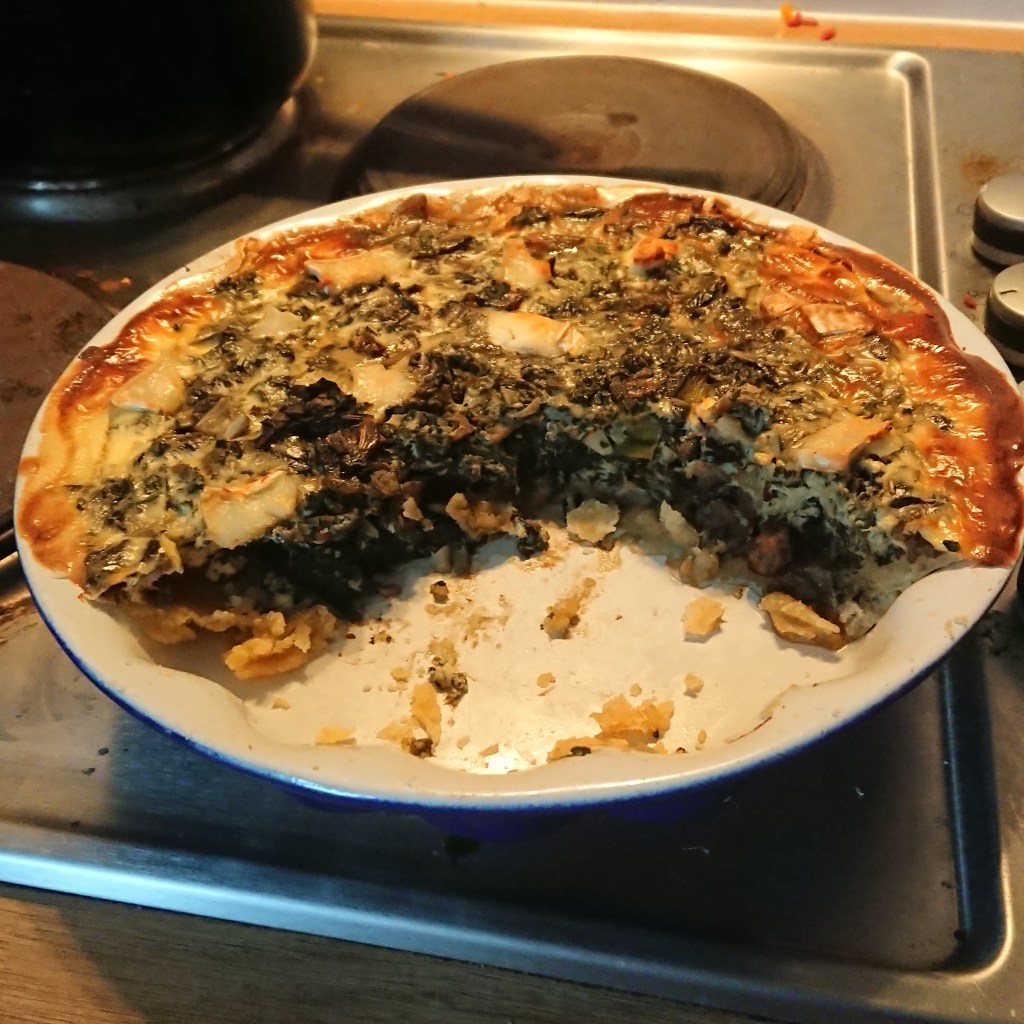
Nettle Quiche
Ingredients:
-Nettles
-Onion
-Mushrooms
-Bacon
-Garlic
-Oregano/Mixed herbs
-Eggs x 6
-100ml Cream
-Cheddar cheese
For the pastry:
-250 grams of flour
-100 grams butter
-Salt
Start by preheating the oven to 180 degrees.
Prepare a shortcrust pastry, 250 grams of plain flour, 100 grams of warmed butter, rub with your fingers until it resembles bread crumbs. Add a pinch of salt and 3 or 4 table spoons of water mix till a firm dough. Kneed the flour gently on a dusted surface. Wrap in cling film and place in the fridge till later.
In a frying pan fry the onions until transparent. Add mushrooms, bacon (if using), lots of garlic, fry with oregano or other mixed herbs.
Chop the nettles up and throw them in. Fry like spinach.
Whilst this is all simmering on the hob, mix the eggs and cream in a jug to create a rich creamy filling. Grate some cheddar into the mix
Remove your pastry from the fridge. Roll out till flat and place in a low rimmed pie dish. Cover the pastry with some grease proof paper and weight down with some pasta. Pop in the oven for ten minutes so it’s blind baked.
Right, now all your elements can combine together, mix the fried content of the pan with the liquid before pouring all of it in to the pastry base. Bake at 180 degrees for about half an hour or until browned.
I always enjoy my quiches cold, but obviously it’s up to you how you eat them. Let me know if you enjoyed this delightful dish.